

Hello Friends!
I've been asked to write a tutorial on how to add buttons to the Blogger sidebar. A lot of Facebook Groups, Collaborative Blogs, and Affiliate programs use small images to link to their pages.
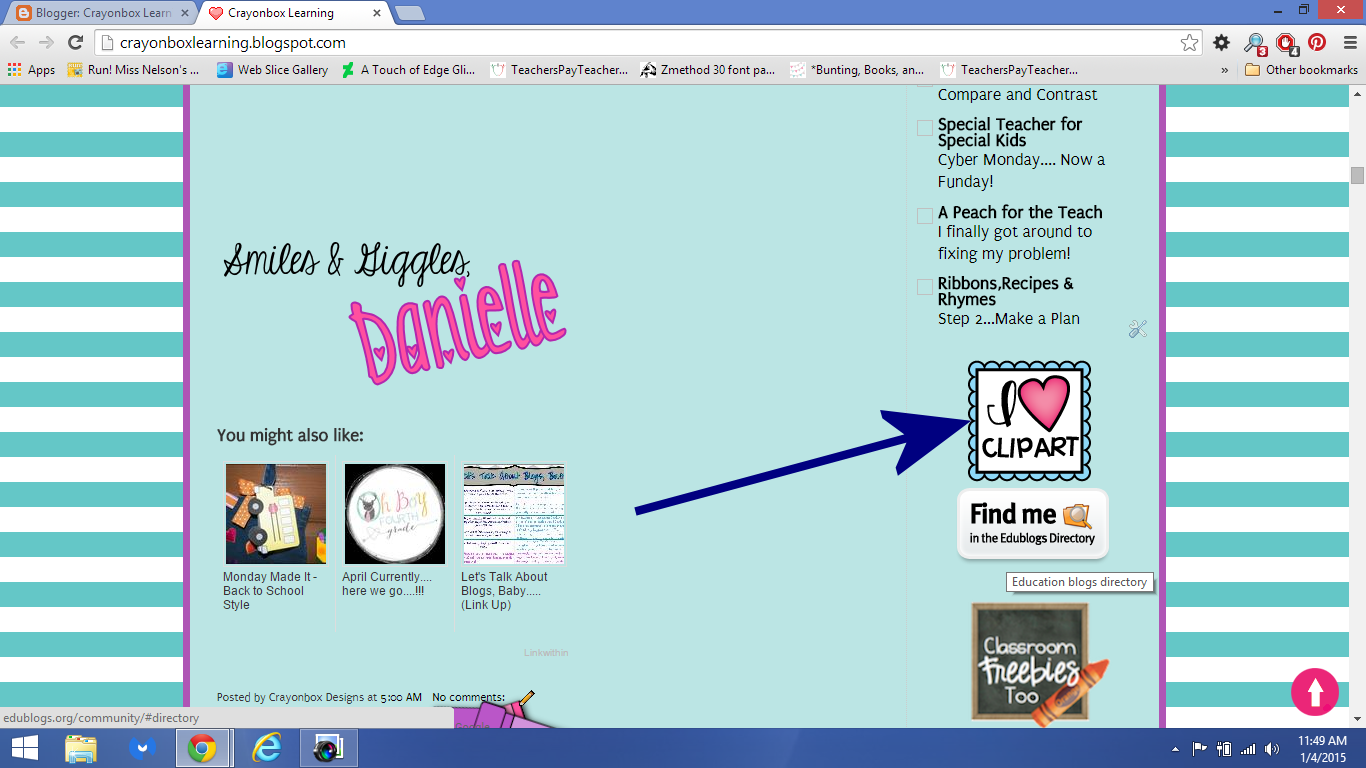
For the purpose of this tutorial, I am using Mel from Graphics from the Pond's I <3 Clipart graphic, (Used with permission). The graphic is for followers of her page, and members of her Graphics Club.

Some link graphics will already come with the code you need to install in your sidebar. If a code is not provided, save the image to your desktop and upload to your favorite host such as Photobucket, or hosting account.
Step 1.
Open your Blogger Dashboard and click on Layout.

Step 2.
Add a new HTML Gadget

Step 3.
Copy and paste the code below. Edit where the text is red. The Image URL is the direct path to the image that you uploaded to Photobucket or your own hosting. The Title Image is the text that will be visible when your mouse hovers over the image.
Please note that the <center> tag is included in the code below. If this tag is not included, the image will be off center in the sidebar.
---------------------------------------------------------------------------------------
<center><a href="http://IMAGE URL HERE" title="Image Title Here" target="_blank">
<img src="IMAGE URL HERE" alt="Image Title Here" style="border:none;" />
</a></center>
----------------------------------------------------------------------------------------
Step 4.
Save the widget and preview the sidebar.
If you want to add more buttons, separate the images with the <br> code. That will provide a blank space. You will need to finish the next line of code with </br>


This was an easy tutorial. :)
ReplyDelete